Writing a Web App in Java with Vaadin

I’ll be going over a simple app at a high level here: it’s a tool that takes two JSON objects as input, and highlights differences between those objects as output. This is a single page web app that contains an input section with two text areas for the user to enter their JSON (one text area for each object) and a button that runs the object comparison on the back end, and an output section that displays the JSON objects in a table format, where rows in the table are highlighted if a common field between the objects contains different values. I’ll refer to the app as json-compare from here on out.
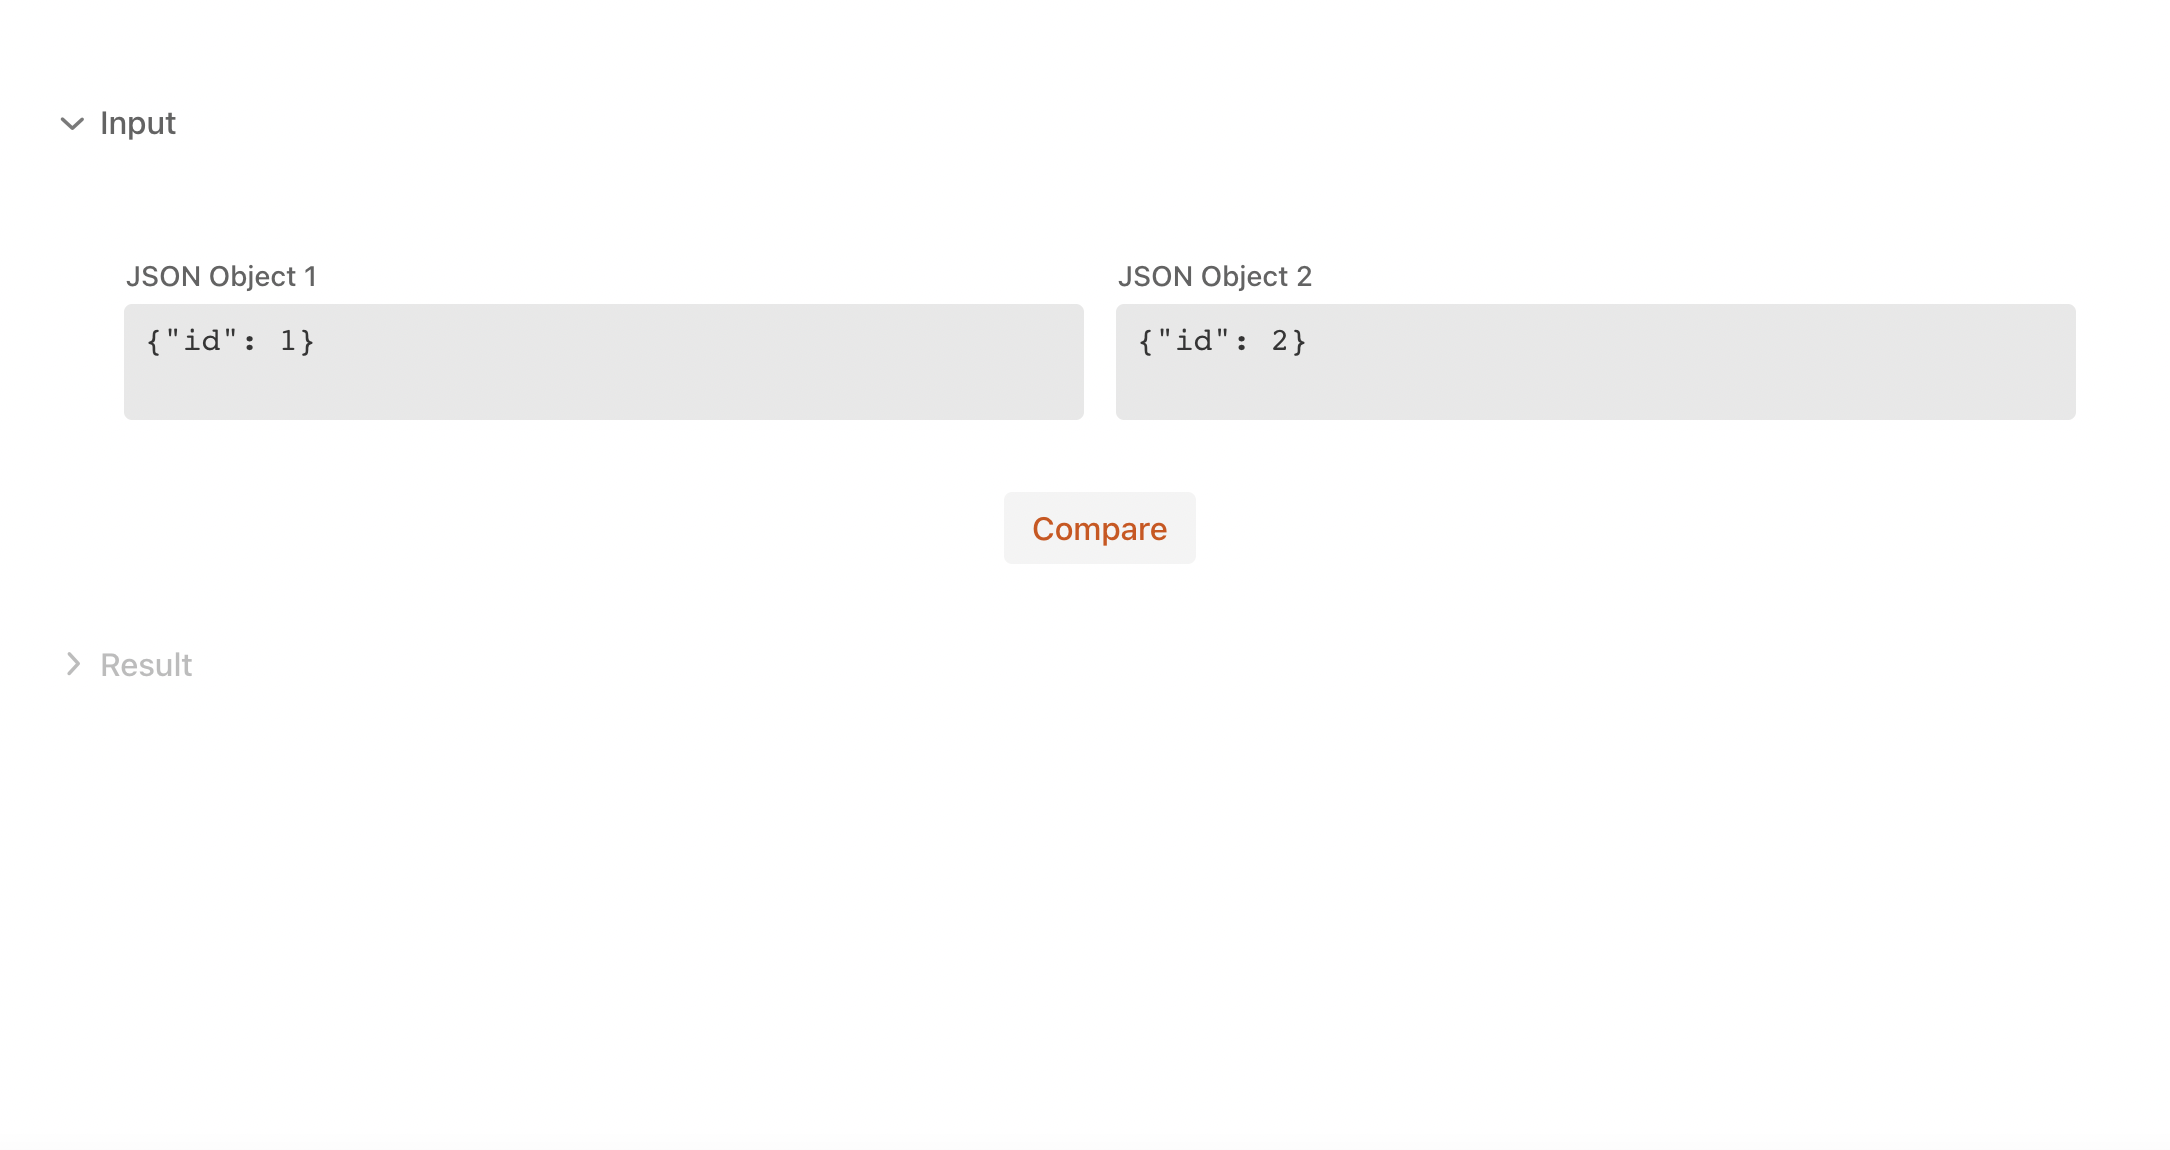
Here is the input section:
And the output section:

json-compare is a Spring Boot app. Vaadin integrates nicely with Spring Boot, and while json-compare doesn’t use Spring’s dependency injection mechanism it does make use of libraries that are included in the Spring Boot dependency set such as Jackson for JSON processing and JUnit for unit testing. Spring also includes embedded Apache Tomcat which allows one to run a web app as a regular ol’ JAR! The main class of the application will look familiar to those who use Spring Boot in their projects:
import org.springframework.boot.SpringApplication;
import org.springframework.boot.autoconfigure.SpringBootApplication;
import org.springframework.boot.web.servlet.support.SpringBootServletInitializer;

@SpringBootApplication
public class Application extends SpringBootServletInitializer {

    public static void main(String[] args) {
        SpringApplication.run(Application.class, args);
    }

}
On the build tools front Vaadin supports Maven and Gradle - having support for the two most popular Java build tools means that Vaadin based web apps should fit into most CI/CD setups. For example, we can use Gradle to run the initial build for json-compare. The following Gradle command will generate the HTML, CSS, and JavaScript from the Java code, then bundle those files with other assets via webpack to be served up when users access the website:
./gradlew vaadinBuildFrontend build
Vaadin provides facilities to turn a web app into a PWA (progressive web app), just by specifying the @PWA annotation in the class that extends the Vaadin AppShellConfigurator class (the “main class” for the Vaadin portion of the app):
import com.vaadin.flow.component.page.AppShellConfigurator;
import com.vaadin.flow.server.PWA;
import com.vaadin.flow.theme.Theme;

@Theme(value = "json-compare-java")
@PWA(name = "json-compare-java", shortName = "json-compare-java", offlineResources = {"images/logo.png"})
public class AppShell implements AppShellConfigurator {
}
Also notice the @Theme annotation in the AppShell class above. In Vaadin apps the theme contains the assets (CSS, fonts, images, etc) that are used to style the entire application. Vaadin provides two themes out of the box: Lumo and Material, with Lumo being the default theme for Vaadin apps. json-compare uses the Lumo theme with a custom color palette. Custom theme CSS files will reside in the frontend/{theme-name} directory of the application (frontend/json-compare-java for json-compare). The frontend/{theme-name}/views directory contains the CSS files for the different web pages of the app. Notice that there is a single json-compare-view.css file in the frontend/json-compare-java/views - this is the CSS file that contains the styles needed by the JsonCompareView class, which implements the only web page for json-compare (we’ll go over the JsonCompareView in more depth later on). Also notice the CSS files under the frontend/json-compare-java/components directory, these are CSS files that will be used to apply custom styling to the UI components that come with Vaadin, which is a nice segway into the next topic…
Let’s now turn our attention to the building blocks of Vaadin apps: components. Components are where Vaadin really shines, as they provide rich functionality right out of the box. For those who are familiar with JavaFX, components in Vaadin are much like UI controls in JavaFX, they are elements that exist on the UI of the application and have an API that can be used to control and facilitate user interaction with the app. For example, the TextField component gives the user a place to enter text for the application to process. The TextField component, like all Vaadin components, is already styled to fit into the default Vaadin themes through predefined CSS styles and classes that are applied instances of the component. TextField, again like all Vaadin components, exists as both an HTML element on the web page that the user interacts with and as a Java object on the backend for the server side code to query and manipulate. The Vaadin framework will keep both the frontend and backend instances of the component in sync for you.
Let’s take a look at how json-compare makes use of components. We’ll find the definition for the only web page of the app in the JsonCompareView class. When JsonCompareView is loaded the JsonCompareView() constructor will be called (like any other class in Java), as such code that initializes the web page will go here. Initialization code will include creating web page components and populating them with needed data. The constructor for JsonCompareView is as such:
public JsonCompareView() {
    setId("json-compare-view");
    addClassName("json-compare-view");

    uiTextArea1 = new TextArea("JSON Object 1");
    uiTextArea1.addClassName("json-text-area");
    uiTextArea2 = new TextArea("JSON Object 2");
    uiTextArea2.addClassName("json-text-area");

    uiCompareButton = new Button("Compare");
    uiCompareButton.addClickListener(e-> {
        compareObjects();
    });

    HorizontalLayout horizontalLayout = new HorizontalLayout();
    horizontalLayout.setPadding(true);
    // Adds and flex-grows both components
    horizontalLayout.addAndExpand(uiTextArea1, uiTextArea2);

    VerticalLayout verticalLayout = new VerticalLayout();
    verticalLayout.add(horizontalLayout, uiCompareButton);
    verticalLayout.setHorizontalComponentAlignment(FlexComponent.Alignment.CENTER, uiCompareButton);
    verticalLayout.setJustifyContentMode(FlexComponent.JustifyContentMode.CENTER);

    inputArea = new Details("Input", verticalLayout);
    inputArea.setOpened(true);

    outputArea = new Details("Result", new Span());
    outputArea.setEnabled(false);
    outputArea.setOpened(false);

    add(inputArea, outputArea);
}
As we can see TextArea components are created so the user can input JSON objects to compare, and a Button is created so the user can run the comparison between the JSON objects after entering them. Our TextArea and Button components are created as Java objects, then are added to a couple of layout components to be displayed on the web page:
// Create text areas
uiTextArea1 = new TextArea("JSON Object 1");
uiTextArea1.addClassName("json-text-area");
uiTextArea2 = new TextArea("JSON Object 2");
uiTextArea2.addClassName("json-text-area");

// Create button
uiCompareButton = new Button("Compare");
uiCompareButton.addClickListener(e-> {
    compareObjects();
});

// Create layouts and add components to them
HorizontalLayout horizontalLayout = new HorizontalLayout();
horizontalLayout.setPadding(true);
// Adds and flex-grows both components
horizontalLayout.addAndExpand(uiTextArea1, uiTextArea2);

VerticalLayout verticalLayout = new VerticalLayout();
verticalLayout.add(horizontalLayout, uiCompareButton);
We also tie an event listener to the compare button, this will kick off the comparison code on the server side after the user clicks the button:
uiCompareButton.addClickListener(e-> {
   compareObjects();
});
After the page is initially loaded and the user enters input and clicks the button the app will respond by executing the code in the compareObjects() method, which will also update the web page to provide user feedback on the comparison:
private void compareObjects() {
    getJsonObjects();
    if (isInputValid) {
        List<FieldComparison> fieldComparisons = jsonObjectComparator.compare(object1, object2);
        try {
            TreeGrid<FieldComparison> grid = new TreeGrid<>();
            // Set the fields from each object to the table
            grid.setItems(fieldComparisons, FieldComparison::getChildFields);
            // This is the first column of the table, this will be the name of the field in the JSON object
            grid.addHierarchyColumn(FieldComparison::getFieldName).setHeader("Field");
            // This column with be for the value of the field on the first JSON object
            grid.addColumn(FieldComparison::getField1Value).setHeader("Object 1");
            // This column with be for the value of the field on the second JSON object
            grid.addColumn(FieldComparison::getField2Value).setHeader("Object 2");
            // If the field between the objects doesn't match then set a CSS style class to the row (it will highlight the row red)
            grid.setClassNameGenerator(fieldComparison -> !fieldComparison.getMatch() ? "mismatch mismatch-value" : "");
            grid.setId("jsonCompareTreeGrid");

            VerticalLayout verticalLayout = new VerticalLayout(grid);
            verticalLayout.addClassName("vertical-container");

            outputArea.setContent(verticalLayout);
            outputArea.setEnabled(true);
            outputArea.setOpened(true);
            // Close the input area of the web page to make room for displaying the outcome of the comparison
            inputArea.setOpened(false);

            // set formatted JSON back to input
            uiTextArea1.setValue(objectMapper.writerWithDefaultPrettyPrinter().writeValueAsString(object1));
            uiTextArea2.setValue(objectMapper.writerWithDefaultPrettyPrinter().writeValueAsString(object2));
        } catch (Exception e) {
            logger.error("error setting result to view: {}", e.getMessage());
            showDialog("Error setting result to view.");
        }
    }
}
We won’t go over every line above, the important part is the TreeGrid object as that’s the UI component that contains the result of the JSON comparison. We can see a new TreeGrid UI component is created and we’re setting data generated by the comparison process to this grid (named jsonCompareTreeGrid). jsonCompareTreeGrid will display the matches and differences between the objects to the user in the form of a table on the web page, where each row on the table calls out a field in both JSON objects, and if the value of that field doesn’t match between the objects the row will be highlighted red. We’re using a TreeGrid in this instance instead of a regular grid and JSON objects are hierarchical data structures, and TreeGrid has functionality to display hierarchical data through expanding columns (see the call to addHierarchyColumn() in the code snippet above).
Hmmm, this is starting to look like a JavaFX app… 🤔
So there you have it, usages of Vaddin components to facilitate user interaction in a Java based web app. Vaadin publishes APIs for both HTML/JavaScript and Java so developers of all backgrounds can make use of these components in their Vaadin app. Components are available for all sorts of user interactions, from basics like Button and List Box to the more rich like Tree Grid and Accordion. Vaadin even includes components that help faciliate the layout of web pages, being able to add components to an Ordered Layout and have them display in an orderly (ha!) fashion by setting a couple of fields on the layout object is so much easier than starting from scratch using <div> elements and CSS (though flexbox makes defining layouts via straight HTML/CSS much easier).
I’ve just scratched the surface of the capabilities of Vaadin in this article, there is so much that this framework offers that entire books have been written on it. With that being said I find the best way to learn a new framework or language is to look at other people’s code, so here’s the source code for json-compare. Hopefully between the json-compare source and the plethora of documentation from Vaadin you can learn to use and enjoy it as well. In my opinion Vaadin really has made something special here: to be able to use Java code to create a web frontend and in the same Java class write code to process input data on the backend and send a response back to the user is amazing! Java web development has come a long way even in the 5 short years I’ve been doing it (Java Server Faces anyone?).